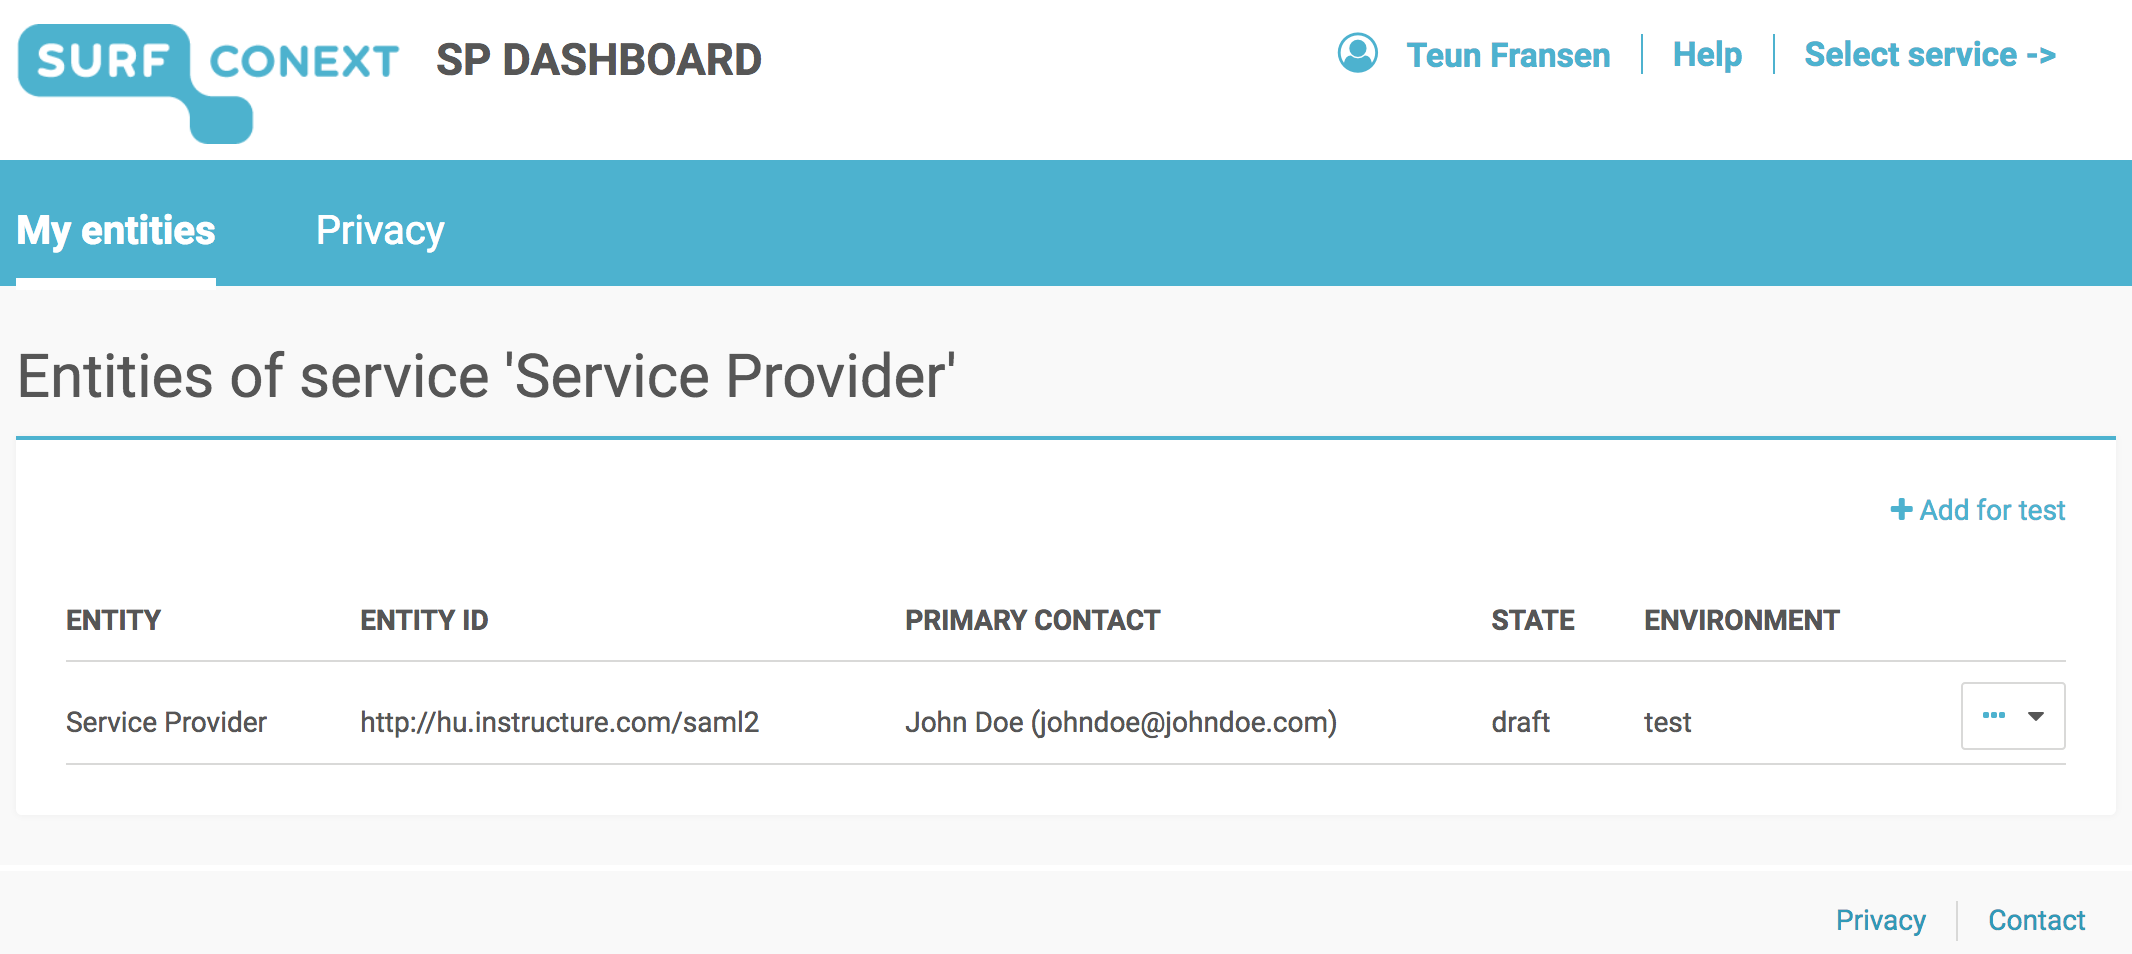
The SURFconext Service Provider Dashboard enables you to
manage your service(s) on the SURFconext platform. It allows you to create, test and edit entities before promoting them to production.
Preparation:
SP Dashboard is connected to and (only) accessible via SURFconext. Therefore you need an account with an IdP that is connected to SURFconext to login:This page will show you what steps to take to get there using the Service Provider Dashboard, commonly know as SP Dashboard. If you are new to SURFconext, get yourself acquainted with SURFconext by reading this page.
Preparation
Before you start, make sure you have an account with an Identity Provider that has access to SURFconext. You cannot continue if you do not have this so make sure you have an identity on one of the following identity providers:
If you work for a Service Provider and you are not a member of an identity provider like an institution or a research facility that is enlisted with SURFconext, you can use our guest identity provider OneGini to gain access to the SP Dashboard.
If you setup a service and you
work for a Dutch education or research institution, you can use the
identity of this institution to work with the SP Dashboard.
You will become a member of a SURFconext team. This team is created by us. Make sure that the registered email address for the team is the same as the one used by your Identity Provider, being OneGini or your Instituion. More on teams can be found by following this link.
| Warning | ||
|---|---|---|
| ||
|
Getting Started
Get in touch with the SURFconext team to get access to the SP Dashboard via support@surfconext.nl.
How to publish your service on SURFconext
Once you have access to the SP Dashboard
and you are a member of the team that is responsible for the entity on SURFconext, the following steps are needed to publish your service on SURFconext:
| Panel |
|---|
IP |
Addresses SP Dashboard: |
IPv4: 145.101.112.64/28 (16) |
IPv6: 2001:610:188:448::/64 |
